The Blog: How it was made
2025-11-27
Storytime
For over a year, I’ve wanted to create a blog to document anything interesting I came across. However I was stuck, how would I make a blog? Back then my personal website was amuh2020.github.io hosted using GitHub pages and it was a single index.html file that I stylised using bootstrap. I kept it super simple, with an image of myself (the same one I used on Linkedin), along with my email, a little bit of info, a link to my CV, amalworks stuff, some of my socials and of course Linkedin.
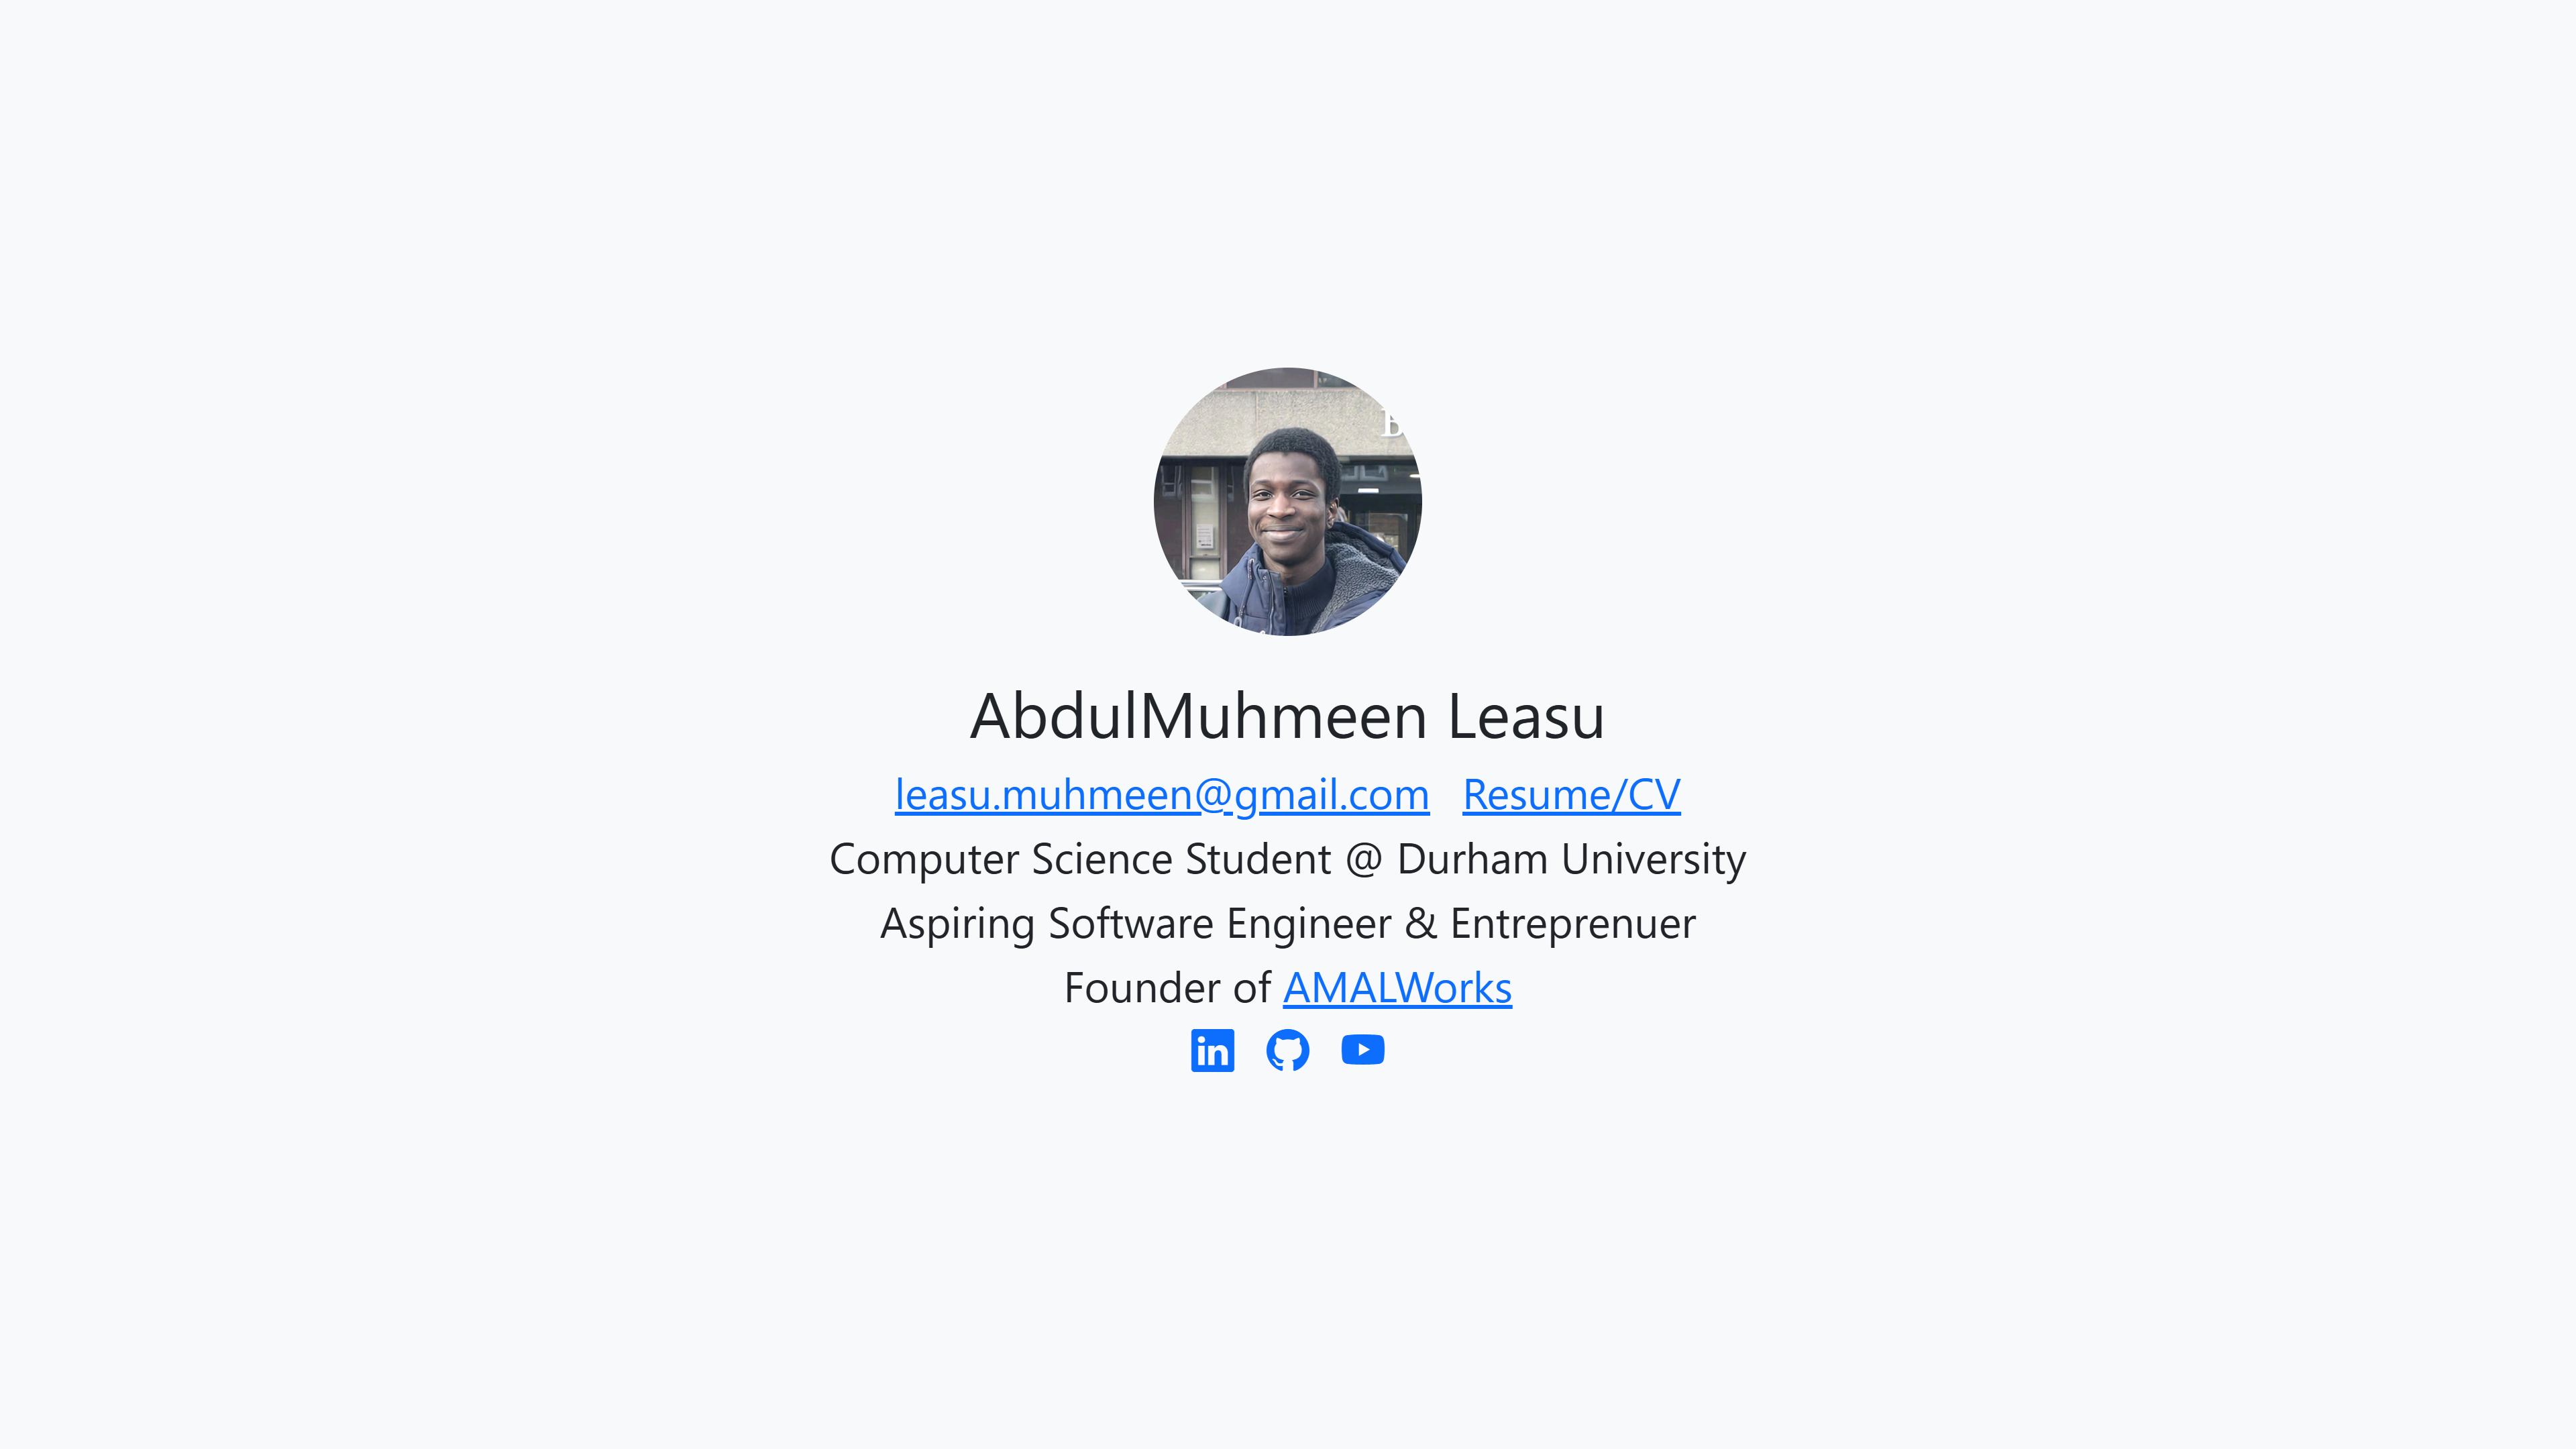 Screenshot of the page
To be honest the Founder title is a bit much since I haven’t actually released anything that has any users yet. Anyway, the page was simple, functional and in my opinion very nicely designed. I remember specifically picking an off-white colour for the background as well to make it pop (note to self: edit this corny aah line).
Back to the blog. So with a HTML based site hosted on Github pages my options were quite limited. I had the choice of blog templates from Static Site Generators like Hugo or Jeykll, or already setup CRMs like Ghost or Wordpress.
 I looked into all of them, and tbh they didn’t really give me the sense of ownership that I wanted, plus I was really starting to like markdown after I’d moved over to Obsidian back in August of 2024.
Background
During my internship in the summer of 2025, I discovered Go’s templating power whilst working on an email platform. The company I worked for were looking for an in house (and cheaper) way to manage mailing lists for specific groups of customers such as “Event X attendee”, manage the email templates, and launch email campaigns. As this wasn’t business critical the task was delegated to the interns. I used Go, the company’s language of choice, for the backend and NextJS for the frontend, and had a draft going. I leveraged Go’s templating library to insert the names of the user’s into the email templates (e.g. Hello {{user}}) and prep them for sending. Long story short, what I made wasn’t as good as the already existing solution + technical overhead meant that the project never launched. I did learn a lot more about programming in Go though.
Fast forward a couple months and one weekend I decided, why don’t i just revamp my website and create my own custom blog and CRM using markdown files for the posts? so thats what I did. I spun up gemini (my llm of choice), and got to exploring the possibility of actually putting this together.
Let’s get technical
Data store
Initially I thought of going with Supabase, so i started of with a test sqlite3 db. I’d use a really simple schema: Blog(Title,Description,HTML,Date) however I soon realised this wouldn’t be the most feasible solution, requiring some sort of frontend or custom program to update the db, whenever i made changes.
A little backstory. Obsidian, my main notebook/knowledge space, unfortunately doesn’t come with cross device syncing for free so my work around was to use google drive. This required third party tools that had to remain active on my devices, so I moved to using git and Github, sacrificing automatic syncing, with more performance and git merges😃. Now with this in mind I wanted adding/updating blogs to be as easy as just pushing a commit to github. Using cloudflare R2 as a storage space came in clutch as it was way more affordable (free tier so far), than the other cloud stores or using a database. The glue between the repo and the R2 bucket was a github actions script which first upates the R2 and then notifies the web app that the pages had been updated and it should fetch them from the bucket. I’ve linked the R2 bucket to the cdn subdomain so its accessible via https://cdn.abdulmuhmeen.com/ (this wont take you anywhere).
With Git on my phone, via termux, this means I can also edit and write blogs on the go (pun intended).
Pages
Setting up the pages wasn’t too bad, and I finally got to setup tailwind (without nextjs) by using their CLI. I kept the styling similar to the previous version and was heavily inspired by Arjun Juneja’s website. I actually don’t know Arjun personally but he does some really cool stuff in cyber security (bro is cracked) and we somehow connected on linkedin. The templating was a bit of a pain to get right as the library has a very interesting design/setup. You have to sort of load all the HTML templates at once, and you couldn’t have a base layout (took me hours to discover and accept this). I have sort of settled on a weird template format as a workaround for the time being. Inserting data into templates was relatively easy, only requiring you to pass the object to the template execution function. The syntax kind of reminded me of my Django Templating and Jinja2 days, 1 and 3 years ago respectively.
Server
I went with Go as the server side language so I could learn more about it as its slowly becoming my language of choice (more on this in another blog maybe). I’m still currently a python, javascript/typescript person though. The server wasn’t too bad to put together, and my main struggle was actually figuring out how to structure my files in the project. I made use of chi, for dynamic routing e.g. /blogs/{slug} so that each blogpost page could be handled properly. The server also serves some static files, namely “output.css” (which is generated using the tailwind CLI). Other libraries involved include:
github.com/aws/aws-sdk-go-v2/aws - used this to setup bucket
github.com/aws/aws-sdk-go-v2/service/s3 - used this to interface with R2 bucket
github.com/gomarkdown/markdown/html - used this to parse the markdown and convert into html
github.com/goccy/go-yaml - used this to parse the yaml
Once the server is up, first thing it does is to load the blogs (in md) from the R2 bucket, and convert the md into html which is saved into Content objects. This object is where blogs are stored and is accessible from memory for the duration of the server being online, for fast and simple fetching of blog posts (no DB calls).
type Content struct {
	Filename string
	Meta MetaData
	HTML template.HTML
	Url string
}
The server updates the blog posts it stores via a special endpoint (which I won’t mention as its currently not secured), that tells it to refetch the updated blogs from the R2 bucket. This endpoint is also called by the Github workflows script on every push to the blog repo.
Markdown
I’ve had to tweak the markdown renderer to fix issues like spacing and correctly sourcing images. I’ll probably continue to work on this as the style/formatting of the blog evolves and improves. The eagle eyed among you may be wondering, whats the Metadata struct exactly? Well I had to options or rather 1 and a half. I could either use the md doc name as the title and grab some metadata from the file itself, i.e. date, last modified etc, or I can do that and have a some metadata directly in the files.
// metadata struct
type MetaData struct {
	Title string `yaml:"title"`
	Description string `yaml:"description"`
	Date string `yaml:"date"`
	Tags []string `yaml:"tags"`
	IsPublic bool `yaml:"is_public"`
}
# example header in a markdown file
---
title: Example Title
description: Example Description
date: YYYY-MM-DD
tags: [tech, AI]
is_public: false
---
This was actually surprisingly simple to implement, only requiring me to grab the first 7 (number of metadata tags) lines of each file and convert this into the Metadata type.
// split first 8 substrings seperated by newline
lines := strings.SplitN(mdContent, "\n", 8)
// first 7 parts are metadata tags
metadata := strings.Join(lines[:7], "\n")
// final part is the content
mdContent = strings.Join(lines[7:], "\n")

// initialize empty MetaData struct
var meta MetaData
// parse metadata yaml into MetaData struct
err = yaml.Unmarshal([]byte(metadata), &meta)
if err != nil {
	meta = MetaData{Title: "Untitled", Description: "", Date: "", Tags: []string{}, IsPublic: false}
}
This approach is quite hacky and I’ve already had to update the server and blogs once I added the is_public tag.
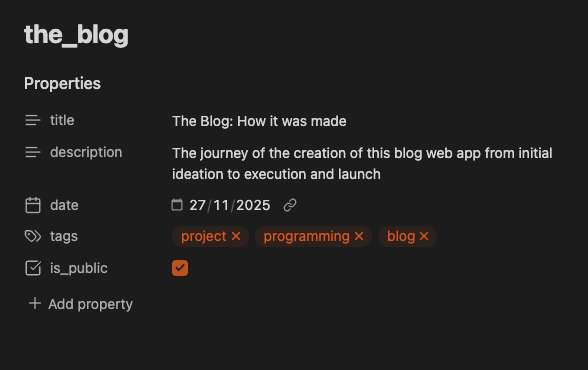 I write the blogs using markdown, which nicely formats the header into this GUI form.
Deployment
Yay the fun part. Deployment was an easy choice for me, basically a no brainer. I made use of Google Cloud run to run my app. This was initially via a super long gcloud run command with the env vars: R2 endpoint, Secret key etc. However now I’ve just connected cloud build to the GitHub repositorie directly so it rebuilds on any changes to main. I opted for google cloud, because that’s what I learnt how to use during my Summer Internship at Mercurie. GCP will probably be my main cloud service provider for the time being, + I’ve already gotten in touch with them about their very generous startup program! Now I just need a startup idea…
Final Words
Overall a very enjoyable (and challenging) project + now I have a blog 😁. Feedback is very appreciated. Let me know if the formatting is fine? or if the blog is too long (I feel like i yapped a lot) or boring, anything basically, via any of my socials.
Thanks for having a read, I hope you learnt something, and have an amazing day!